Shelby Renovation: Driver Side Wall and New Electrical Door

As we approach the one year anniversary of our mobile boutique, Shelby, we are revamping and perfecting every inch of her body and interior. Today I'm sharing with you the messy renovations from yesterday, my Sunday Funday. Seriously, this is fun for me. Plus, I don't know what a "day off" means for normal people, and this is my way of spending a "day off".

The driver side wall's polishing began a few weeks ago, and it was 75% complete. Along with the completion of polishing, I changed out the electrical door. The previous one, white and broken, has been an eye sore and conundrum for months. Finally, after some googling, a "duh" moment stuck me, when I realized I could buy a new white one for $6 online. Since the camper is now silver, I wanted something to match. But I couldn't find one. With some patience and careful spray painting, it became a silver electrical door, the very kind I couldn't find online.
Also, the door is slightly small than the previous one. It's not surprising since the original door is 40 years old, but becomes a big more work since the white paint underneath the old door wasn't exposed to the elements like the rest of the camper, and the original white paint is still there. It will need some elbow grease to remove, and that's just what I'll give it.
Also, the door is slightly small than the previous one. It's not surprising since the original door is 40 years old, but becomes a big more work since the white paint underneath the old door wasn't exposed to the elements like the rest of the camper, and the original white paint is still there. It will need some elbow grease to remove, and that's just what I'll give it.
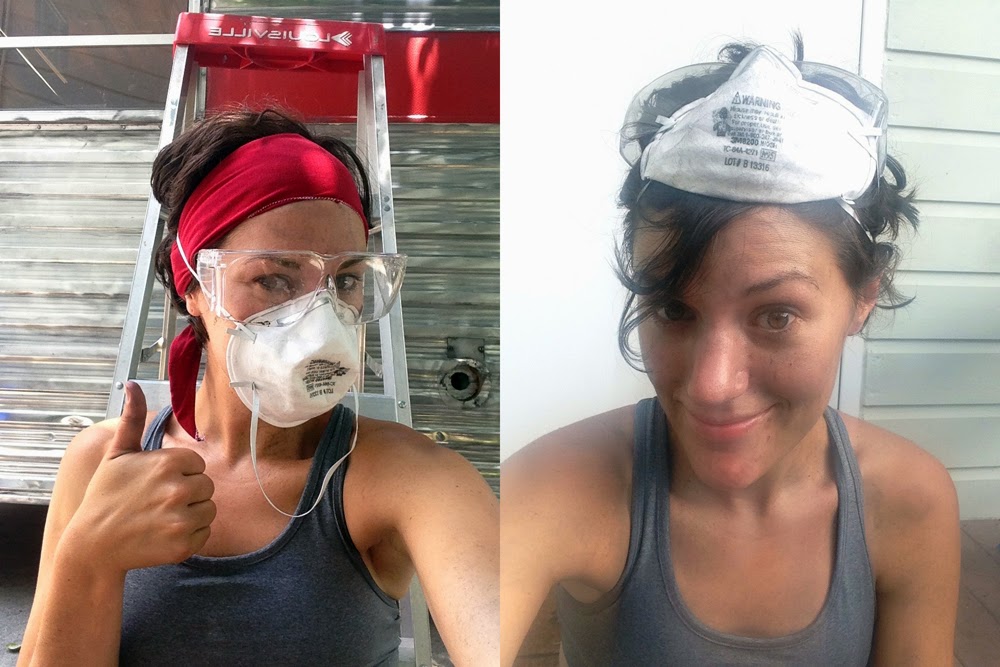
My before and after faces. Before: relatively clean, channeling John Rambo with my red head wrap, and safety first. I always wear goggles and a face mask to prevent the inhilation of aluminum dust. That stuff's nasty! And super messy. I'm covered in small particles of black dust when grinding and polishing the exterior (which I'll show you in another post…). And after. Dirty, grimy, and wet from multiple hose-downs to keep cool in the hot hot heat.

Step one: remove screws. Step two: scrape off 40 year old caulk. Step three: prep for polishing with a metal brush on a rotary tool, and then a brass attachment to smooth out the surface (not pictured). Anyone renovating a camper and need more specific instruction of guidance, email me at sallyannfashion@gmail.com.

Zeus likes to join me on my break. Hey, it's Sunday! PBR, why yes please.

After finishing the careful painting, coats between polishing, it's time to attach the new door. Thanks to Matt for snapping this pic. Don't mind my wild hair!

So beautiful. Now it blends in with the wall. It's the little things that make all the difference.

Dirty and happy. Pleased with my work. Productive day for sure. Tomorrow, I'll share with you the polishing of the front wall, and NEW DECALS! Woo-hoo! She's going to be a beauty this weekend for her birthday party!


Great DIY camper repairs! Pinned to my vintage trailer board:)
ReplyDelete