DIY clothing tags
Are you a handmade artist struggling to find an economical way to make labels and tags to sew into your work? Well, not anymore. Here's a great, inexpensive way to create your own labels! I've been making these for years, and while embroidered or professional labels would be nice, they cost an arm and a leg, and I really enjoy having even my tags being made from recycled materials.
You will need:
- photoshop or word processing program, computer
- Photo transfer paper, I use Avery brand transfer paper
- an inkjet printer
- scissors
- Fray Check
- iron and ironing board
- fabric (non-stretch works best!)

Start by printing up your designs. On a single document, tile your logo or design. It can be pretty close together since you'll be cutting them all out. And most importantly: flip your image horizontally. Next, cut out each individual label. Arrange them on your fabric, spacing them out with enough of an edge is you plan to fold the raw edge before sewing onto your piece. I like to use old banquet napkins, which are linen. The weave of the fabric is nice and thick, it doesn't stretch, and the white matches anything. Most fabrics will do, but to be sure, try a test one first. If you are using fabric with a stretch, be sure to get photo transfer paper for stretchable fabric.


Press. Read the instructions of your transfer paper. And DO NOT use steam. I repeat, DO NOT USE STEAM!

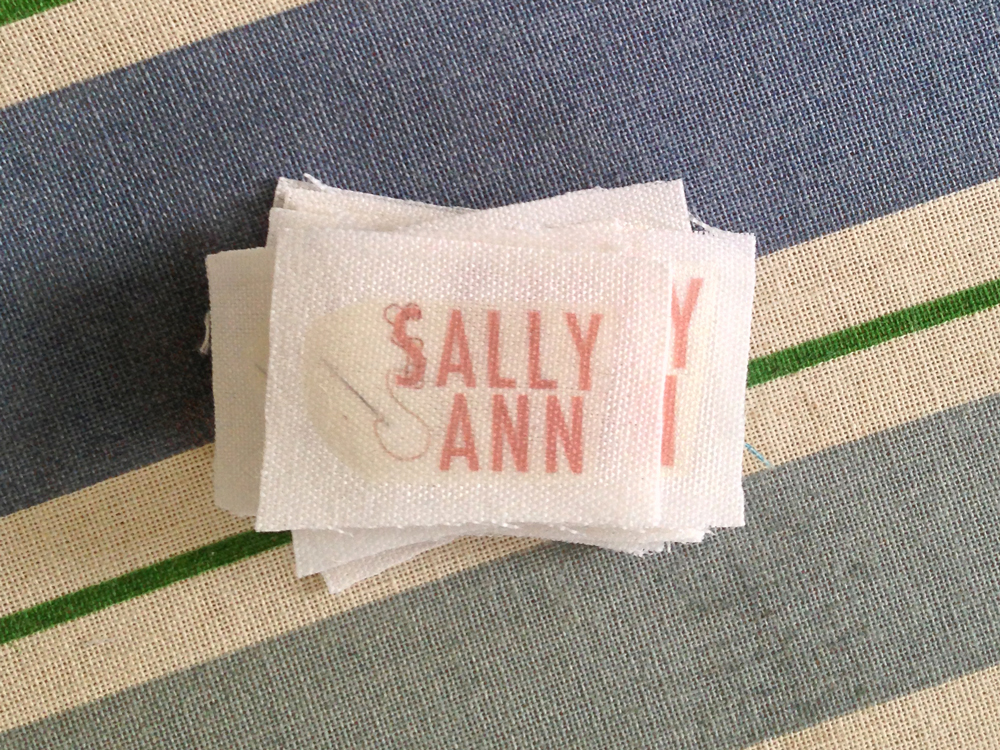
After the fabric cool and you have ironed on all the labels, you can peel off the paper and it will looks like this. The paper will peel off to reveal your beautiful labels! Make sure you iron them long enough, or these will not come off easily and it will take the design with it. If it doesn't peel off easily, iron it again! And DO NOT iron the top side of any of the labels.

Cut out your tags with enough of an edge to fold over before sewing, if you don't like the raw edge, or leave enough to stitch on the outside of the transfer. You will not want to sew ON the transfered part.

Fray check all the edges. Allow to dry before sewing into garment or accessory.


Questions? Comments?!


I wonder if you can iron on to some type of ribbon and then sew under the cut ends. I'm lazy. You think ribbon would melt? Not take the transfer? Hmm. Sounds like experimenting time!
ReplyDeleteI had the same idea, only I ironed mine onto twill tape and hemmed the ends of the tape.
ReplyDelete