Resizing: a skirt tutorial
Have you ever found the perfect skirt and it was just a few sizes too big? It sits at your hips instead of at your natural waist? Low waisted is no longer cool, thank god. My college days saw some really low cut skirts and jeans! It's just not flattering, they elongate the torso and draw emphasis to the hips rather than the better option of longer legs, smaller waist.
I have fully embraced high waisted clothing. Being 5'8" and about 130 pounds, my figure has always been pretty boyish and not too curvy. Of course the older I get the more my curves show, which is fantastic! High waisted skirts are perfect; they make me appear thinner, make my waist look smaller than it actually is and draw attention away from my small bust.
High waisted clothing can be great for other shapes as well. Don't be afraid to try it out!
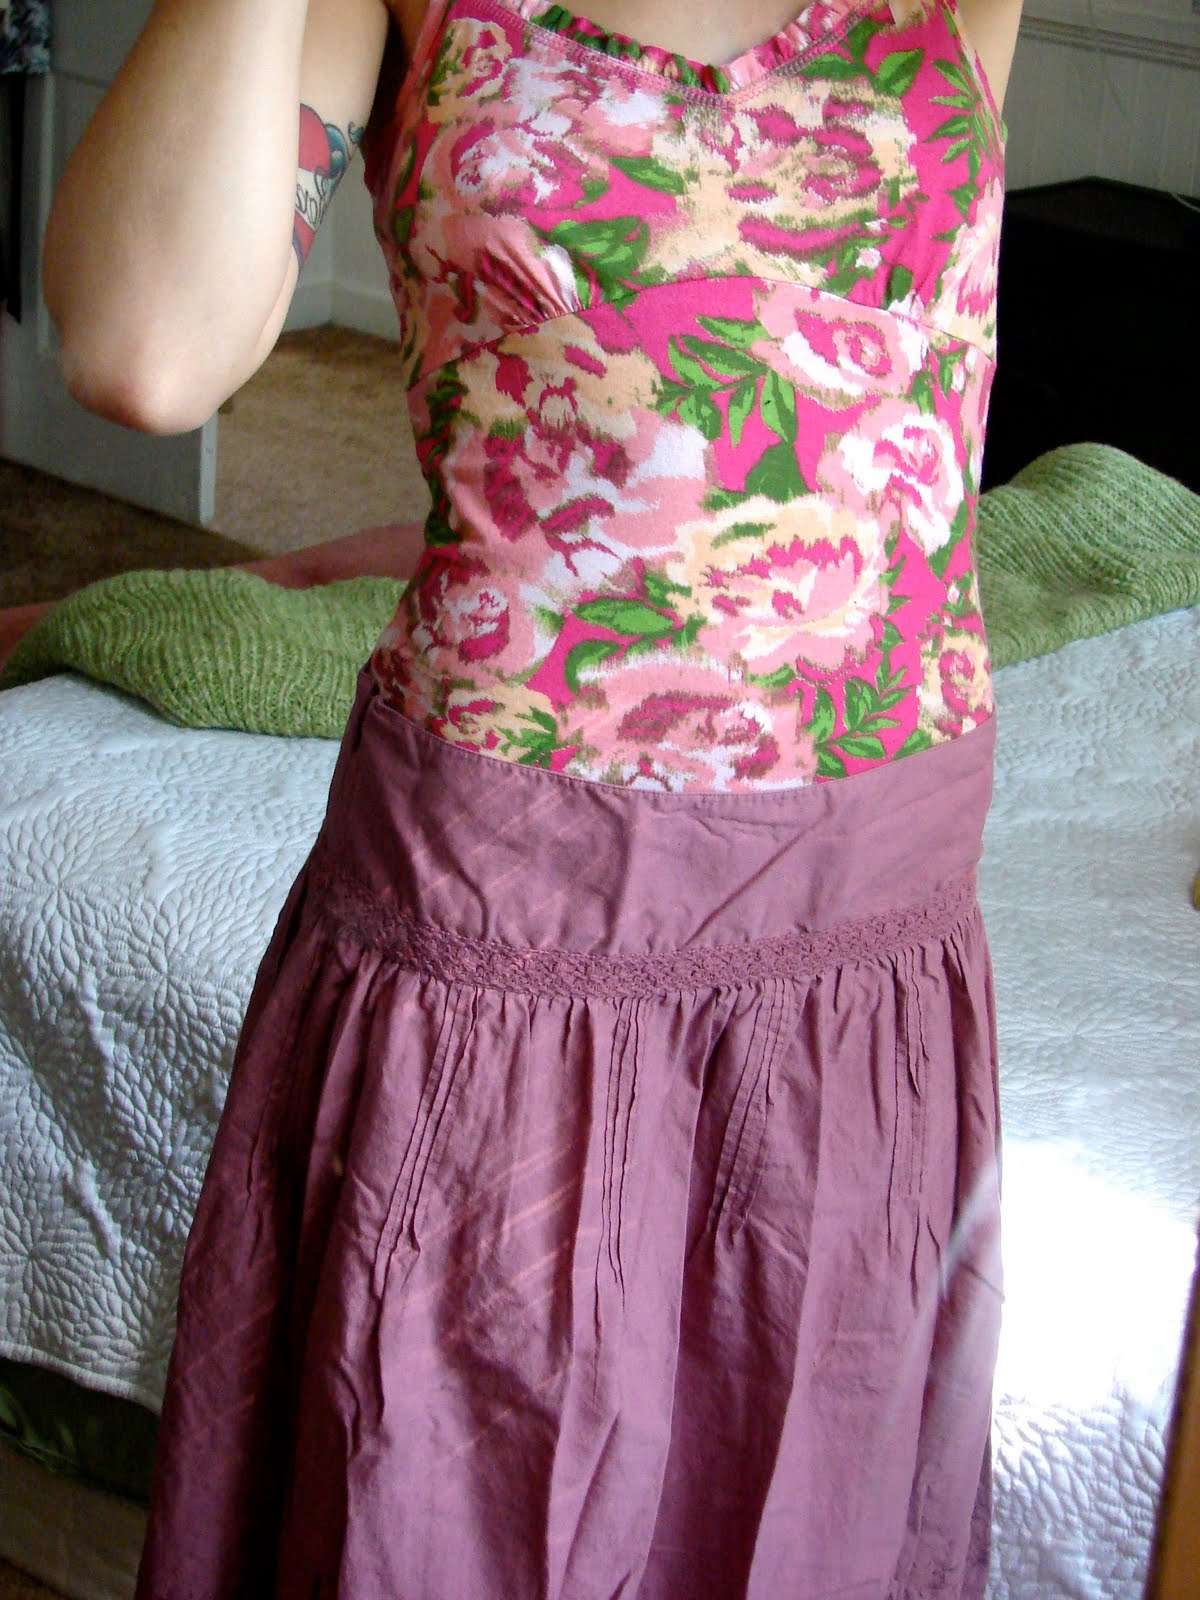
I bought this skirt at Goodwill in Grand Haven for $4.99, specifically for this blog entry. It's Merona brand, from Target, about a size 8 (the tag was cut out). Myself being roughly a size 4, the skirt sits at my hips.
It's a great example of how most women's skirts are constructed. A lined waistband, a zipper, and the skirt isn't lined. Because there are no pleats it can simply be taken in on one side. If there were pleats, they'd have to be moved or you'd take both sides in the same amount. This is a project suitable for a beginner.
This is a seam gauge. You will use this for measuring.
Put on the skirt. Pin it to your size at the top middle and bottom of the waistband.
Also pin the skirt all the way down. I choose to pin it from 1 1/2" to about 1" at the bottom.
Much better looking already. Rachael's new kitty, George looks on.
All pinned.
I like to measure how much it is pinned and write it down in case the pins come out to avoid more work. Measure at the top.
At the bottom of the waistband.
And going into the skirt.
George loves playing and trying to eat my sewing tools!
Remove the pins from both pieces of materials and have them go through only one side, opening up the skirt.
Carefully rip the seam along the skirt. Open it a few inches wider than what is pinned.
Do the same along the top.
Pick a matching thread.
A good way to know its a match is if it disappears when on the fabric.
Don't forget a matching bobbin!
Sew the waistband. Take in both the inside and outside the same amount.
Trim excess fabric but leave enough in case you have to let it out just a tad. The worst is when you cut too much and the you can't add back that fabric.
Sew the skirt.
Iron the waistband flat.
Sew the top of the waistband closed.
Topstitch so it is back to it's original state.
And it will look like this!
Sew the skirt back to the outside of the waistband.
Pin the inside of the waistband down.
"Stitch in the ditch" on the outside to reattach the inside of the waistband. You could also hand stich it from the inside, but I get a bit lazy with hand stitching and this is much easier.
Your finished skirt! Now Rachael's weird cat, Molly is watching. Doesn't it look so much better?!
This part of the waistband should sit right at your hipbone.
Cute little Molly.
And voila. A beautiful skirt. Only $4.99 and a half hour to make it perfect.


You are the grooviest sewing cousin around.
ReplyDeleteAwesome work you do.
But you are awesome anyway.
Hi Sally! I just found out about your blog from a fellow blog reader who referenced your homemade personalized sewing labels post on my blog www.tenthousandsewinghours.blogspot.com under the personalized label post I made on yesterday. Well I'm happy they mentioned you because I see I've been missing out! You've got a great blog. Great skirt tutorial! I'll definitely be checking out your site. BTW, I've from Augusta as well---although I live in Savannah now, I graduated from the Academy of Richmond County:)
ReplyDeleteI'm always ever so interested in reading your blog!
ReplyDeleteAlso your hair is great. I recently also saw your youtube video in which you shave off your hair and you looked amazing. I currently have a shaved head also and my boyfriend loves it!
:) Ever thought of shaving your head again?
Thanks Victoria! Yours is great too. You make some amazing clothes. Especially that bathing suit!! I have issues with that kind of material sometimes, I need more practice.
ReplyDelete@ Denise-- I always forget that video is still on youtube!! I shaved my head when I was 20. It was great to NOT have hair. I was blonde and my roots were showing so I decided it all had to go. I'm trying to grow it out now, I'm impulsive so it's difficult sometimes; last year I had it cut to about one inch. I should have shaved it again.