A new approach to framed pictures
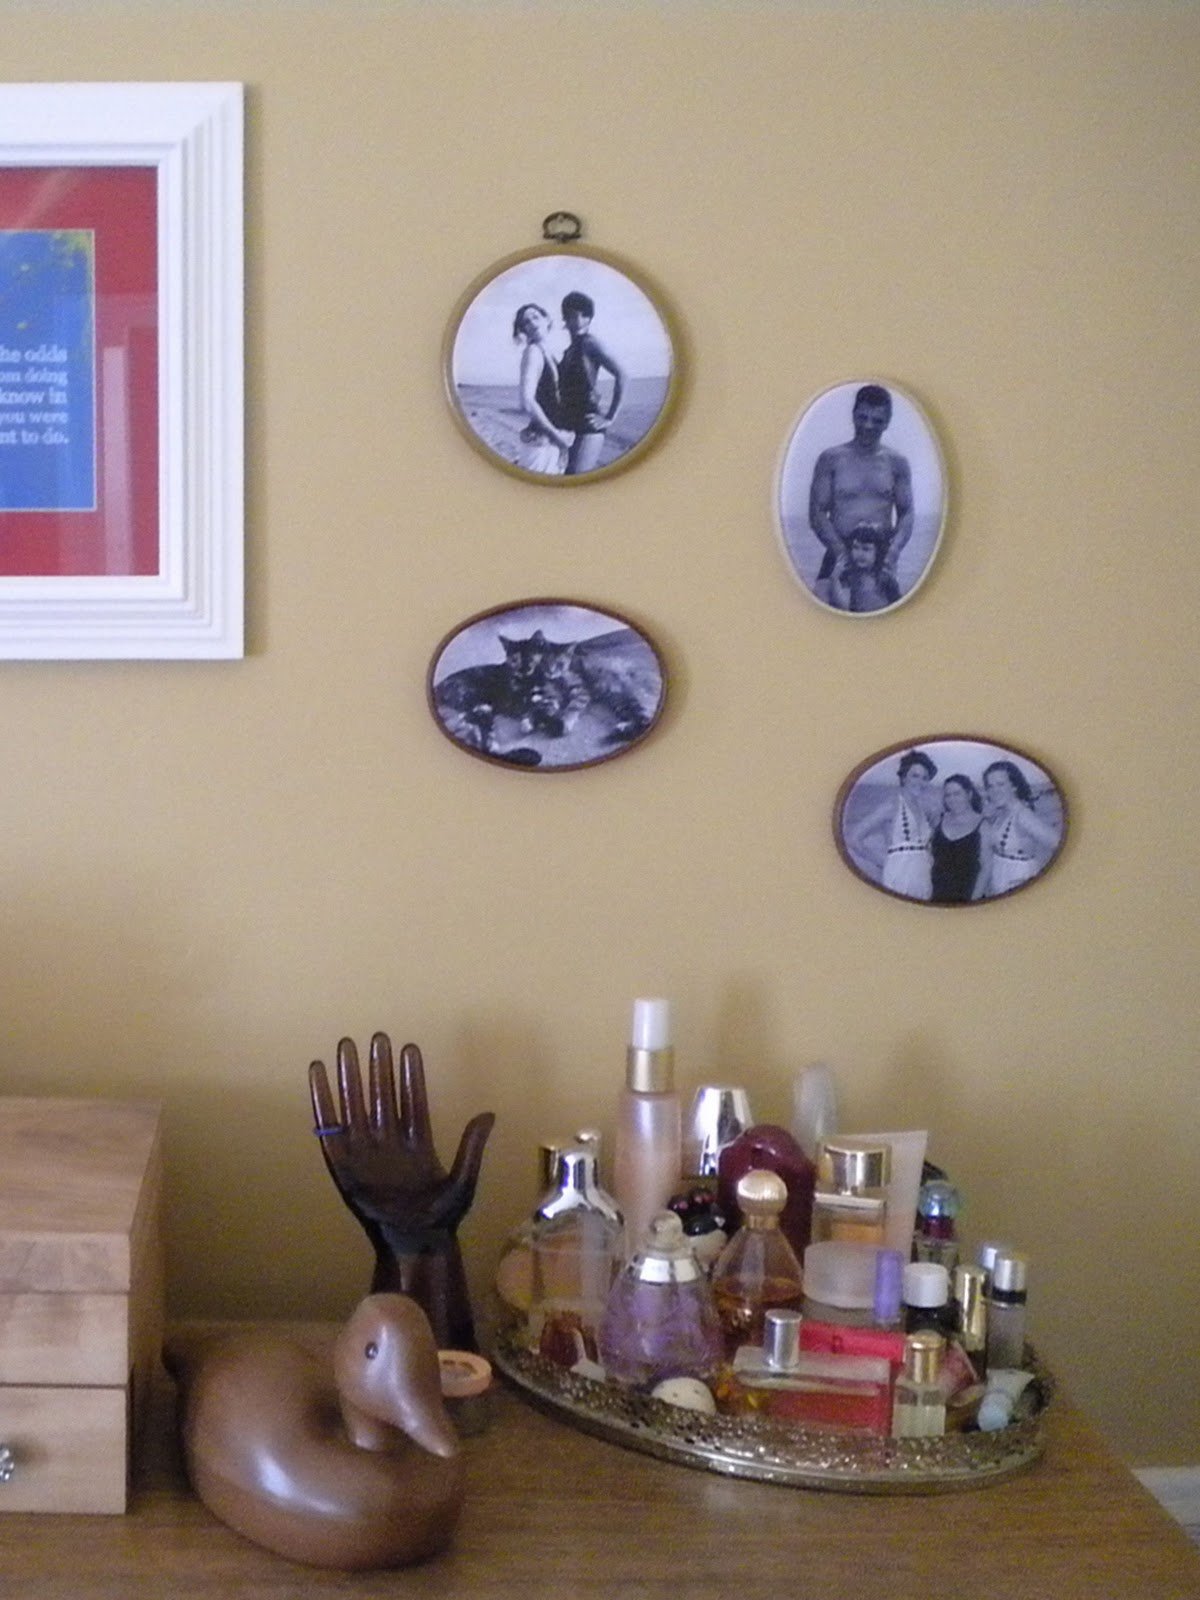 |
| Pictures above my dresser. |
 |
| My dad and I on Lake Michigan when I was a little girl. |
Sick of boring framed pictures on your walls? Here is a great new way to hang pictures of friends and loved ones.
I originally made these when I bought four framed cross-stitched horse wall hangings at Valueland in Muskegon, when I still lived in Michigan. I used the fabric with the cross stitch, scrap materials, and zippers from old pants (they're so short you can't do much with them) to make little coin purses. A girl in Hong Kong bought two of the four pouches. I forget where the other ones went. I think a little girl bought one at a show and the other was also sold on Etsy.
When I was done making the coin purses, I had these awesome rubber frames I didn't want to go to waste. Since I had photo transfer paper that I used to make labels, I thought, "Well hey, why don't I print a picture on this fabric and frame it like a picture frame?" I made four wall hangings, my cats, my sisters, my dad and I, and my friend Sara and I.
I've wanted to make more and create a wall collage of pictures like this, mixing in color photos and some more black and white. I've been collecting them and now I'm finally making more. I found these funny cross stitched bears at a Salvation Army in Myrtle Beach.

You will need:
- plastic frames, from a craft store, or thrift store
- an inkjet printer
- photo transfer paper
- scissors
- a picture
- a photo editing program
- all purpose glue (optional)
- a marker
- fabric, I'm using old linen napkins


Your new pictures are complete! Now you can hang them anywhere. My crazy cat lady photos will probably remain in my living room. Clementine and Stella will certainly love them! I think a wall of cat pictures would be fun. Or creepy. We'll see.
Another idea, combine mediums and create a combination of a print and cross-stitch. This technique of framed pictures can be used in combination with other photoshop techniques as well, like adding words to a fun picture of you and your friends!
Another idea, combine mediums and create a combination of a print and cross-stitch. This technique of framed pictures can be used in combination with other photoshop techniques as well, like adding words to a fun picture of you and your friends!


Sally, this is Brilliant ! In two words LOVE IT!
ReplyDeleteThanks!! ♥
ReplyDelete