DIY Belted Chairs


Living in a large single unit home for the first time, as a couple, Matt and I have been making big DIY plans for our home. When we first moved in and had barely any furniture, we made the promise to each other, if we can make it, we will make it. I'd seen this amazing tutorial on Scrap Hacker, and it's been on my to-do list for months. Every trip to the thrift store, I'd snatch up all the leather belts I could get my hand on.

Next step, find chairs with an open bottom. My sister just moved here to Jacksonville, and she had two sets of two chairs, two white, two brown, both wood, and both with open bottoms. It's amazing how difficult it is to find 4 matching chairs for a decent price. I settled on two sets of two, knowing that the chair bottoms will bring them together. They are also the same height, so they're close enough.

We started with one belt across the center of the chair. You will need about 20-25 belts, they must be leather, wood screws, a drill, a ruler or tape measure, and patience. It's easier to do this with two people. I don't think I'd attempt it myself. After attaching on one side, stretch across, and pull the belt as tight as possible. Make sure you have a tape measure handy so it is symmetrical, use drill to screw into the other side. Screw into the widest part of the wood, to ensure that it doesn't split.
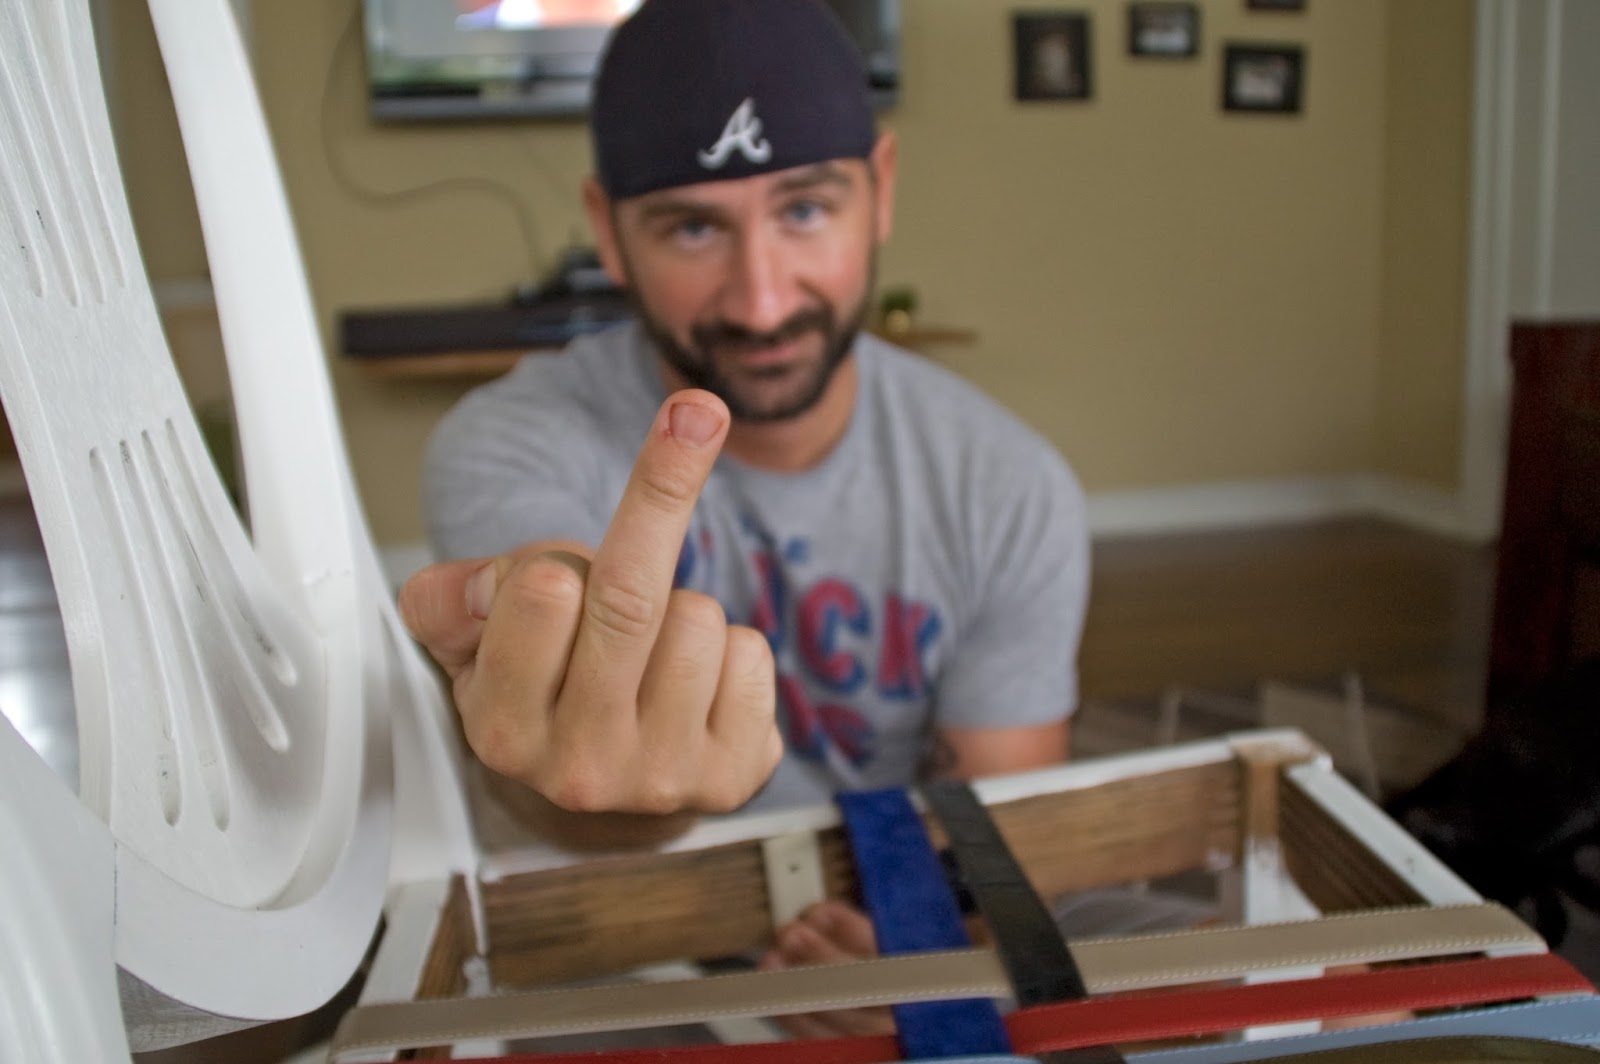
This gesture isn't to you all. It's to me. Be careful with each other's fingers. I got a little carried away and smashed not one, but two of Matt's fingers with the drill bit. See the blood? Whoops. One person stretches and holds the belt, but move those fingers out of the way when you pick up the drill! No need to predrill either, just apply a bit of pressure and drill away.

Add belts back and forth on each side, weaving them in and out. Because this chair was wider at the front than the back, we attached all the belts to the backside and then equally spaced them out on along the front of the chair. If your chair bottom is square, you will space them out evenly.

Watch how you space out the colors of the belts. We made sure no two colors were next to each other. Used the reds sparingly, and added pops of bright belts here and there. When we make the chair bottoms for the brown wood chairs, we're considering only using neutral belts. And the other white chair will have more color, like this one.

We had no idea we'd use this many belt for the chairs, and have to spend more time thrifting before we can finish the others. So while our dining room doesn't look as empty, with four chairs and a table.. Just peek beneath the surface of the table, and any house guest will see you can only use one of the four chairs, haha. I'll post more pictures when the other three chairs are done, and we finish our dining room.

Matt recently built an amazing record player stand for our dining room, that holds all of our vinyl records, our sound system, and record player. Soon, we'll wire the room with surround sound, and listen to lovely records during our dinners every evening. How romantic it will be, Matt and I taking turns cooking dinner every night, and then putting on a record while we sit across from each other in a room full of things we've made together. Awww.... isn't that so sweet? I can't wait!

Zeus pouted among the scraps of belts when we cut them to size, right next to the drill and hardware, pouting like a big ol' baby. He's the sweetest baby boy. I can't believe he'll be four years old next month! That white beard is definitely coming in.. I remember when he got his first grey!

So whatcha think? Personally, I can't get enough of these chairs. I am so in love with the belt holes that so on the front of the chair, and the natural weared look of some of the belts. I don't think I could have asked for more!
We are SO excited to finish the other three chairs!


Super cute!!
ReplyDeleteThe idea is very original and the result amazing!! GREAT DIY! :)
ReplyDeletewww.emerjadesign.com
Fantastic idea!
ReplyDeleteAng
Thanks!!
DeleteLove it! What will you do with the buckles? :>)
ReplyDeleteI saved them all, since I save everything! And honestly, I'm wracking my brain to figure out a good use for them.. any suggestions?! :)
Deletefabulous idea. I know just the chair to try it on
ReplyDeleteThis is sooo neat! I have a chair I don't know what to do with I may try this with!
ReplyDeleteSo glad you are loving RAM - I did it for almost 2 years before I moved from Jacksonville and LOVED it! I miss it so much! :)
Fantastic result! Love the effect you've achieved
ReplyDeleteawsome!
ReplyDelete