DIY band t-shirt reconstruction
Have you ever gone to a show, and fall in love with the band, but they only have extra large or large shirts available, and you need something smaller?! Not to worry. This tutorial will solve all your problems. Matt and I went and saw the amazing band, Ponderosa, at Sky City last month and we HAD to get t-shirts. I took it home and went to town, creating a bat wing t-shirt with cuffed sleeves. Read on for tutorial.
Before it was just way too big. Using a single seam, you can do this very same alteration to a cotton t-shirt. Be sure you change you needle to a ball point needle, specifically for stretch fabric! You can alter the shirt in other ways, and a more technical way would be to take in the sleeves and the sides separately, then reattach the two, but that's too much work in my mind, just for a t-shirt, and I love the bat-wing look.
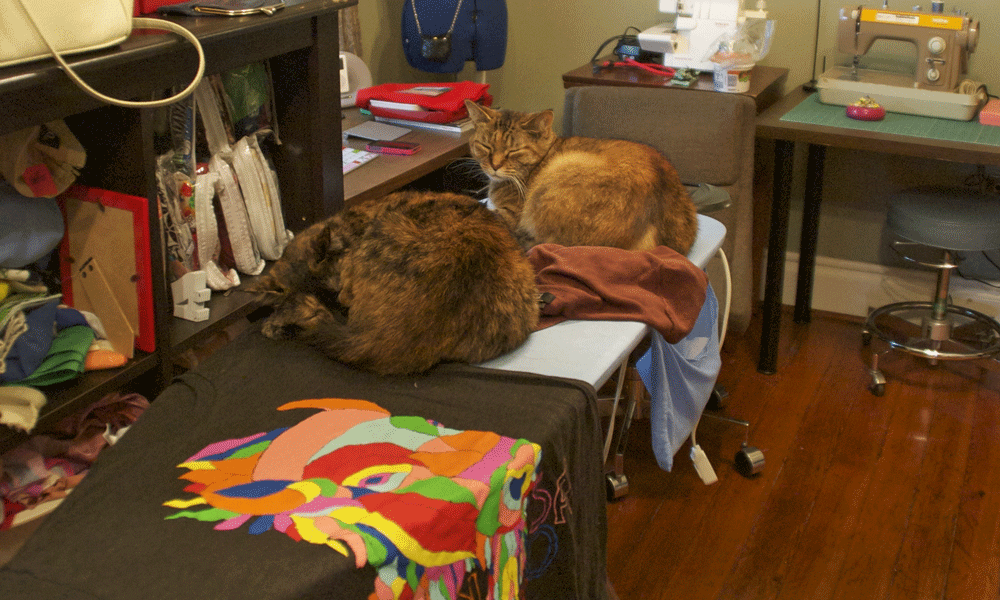
Clem and Stella were also big helpers. They helping in that they laid on everything that touched the ironing board. Cats always know how to get in the way, don't they? It's bad enough with Zeus always at my feet. Anyways, back to the tutorial...
You will need:
- t-shirt
- chalk
- pinking shears or scissors
- sewing machine
- straight pins
- matching thread
1. Try on the shirt and see how much you want to take it in. Make a mental note of the measurement or use straight pins. Carefully remove the shirt if you used pins (and always point pins down!). Mark the path you will sew with chalk. 2. Sew. If the fabric is really stretchy, sew with a slight zig-zag stitch. This will allow the fabric to stretch without the seam ripping. I'll say it again: be sure to change that needle to a ballpoint! It makes a huge difference! 3. Trim excess edges with pink shears or regular scissors. 4. Cuff the sleeves twice, using the original seam as the width of the cuff. Pin every 1/4 of the sleeve. Take to your machine and stay stitch the cuff where you pinned.
Notice the awesome new cuff? It's so easy to just stitch back and fourth, about 1/8-1/16 of an inch on the top, bottom, and center front and center back of the cuff. This "stay stitch" will keep the cuff but still appear very casual.
The shirt is stamped "Stella Approved!"
And all done! This alteration takes about 15 minutes, maybe less. It's always a bit longer for me since I'm snapping photos and moving around my tripod. But it's a great way to revamp some old t-shirts you never wear because of the fit! Save some shirts from hitting the Goodwill pile and make them more versatile with your wardrobe! I'm not really a t-shirt kind of gal, but on slightly chilly days, there's nothing better than a t-shirt and skinny jeans.
On a chilly day a few weeks ago, I caught Matt and I BOTH wearing our Ponderosa shirts. I wore mine to work at Stillwater and he came in for a few beers. I just HAD to take a picture and post on Instagram. It's one of those cheesy lame couple things that just makes me giggle, matching as we did.
So whatcha think? Thoughts? Input? Questions?!
Comment here or email me at Sallyannfashion@gmail.com


Awesome! Some friends of mine made me a tee with some lyrics on it but it was EXTREMELY huge. I'm totally gonna try this out!
ReplyDeleteThanks for this great tutorial! I'll let you know about the result ;)
Greetings from Spain!
For steps 1,2 and 3 did you turn the shirt inside out?
ReplyDeleteGreat job!
ReplyDelete